EXPLORING
aEROPRESS
Written, designed and Photographed by Daria Pyshna.
Written, designed and Photographed by Daria Pyshna.
Updated on: October 4th, 2023
So! Let’s talk about Aeropress,
shall we!
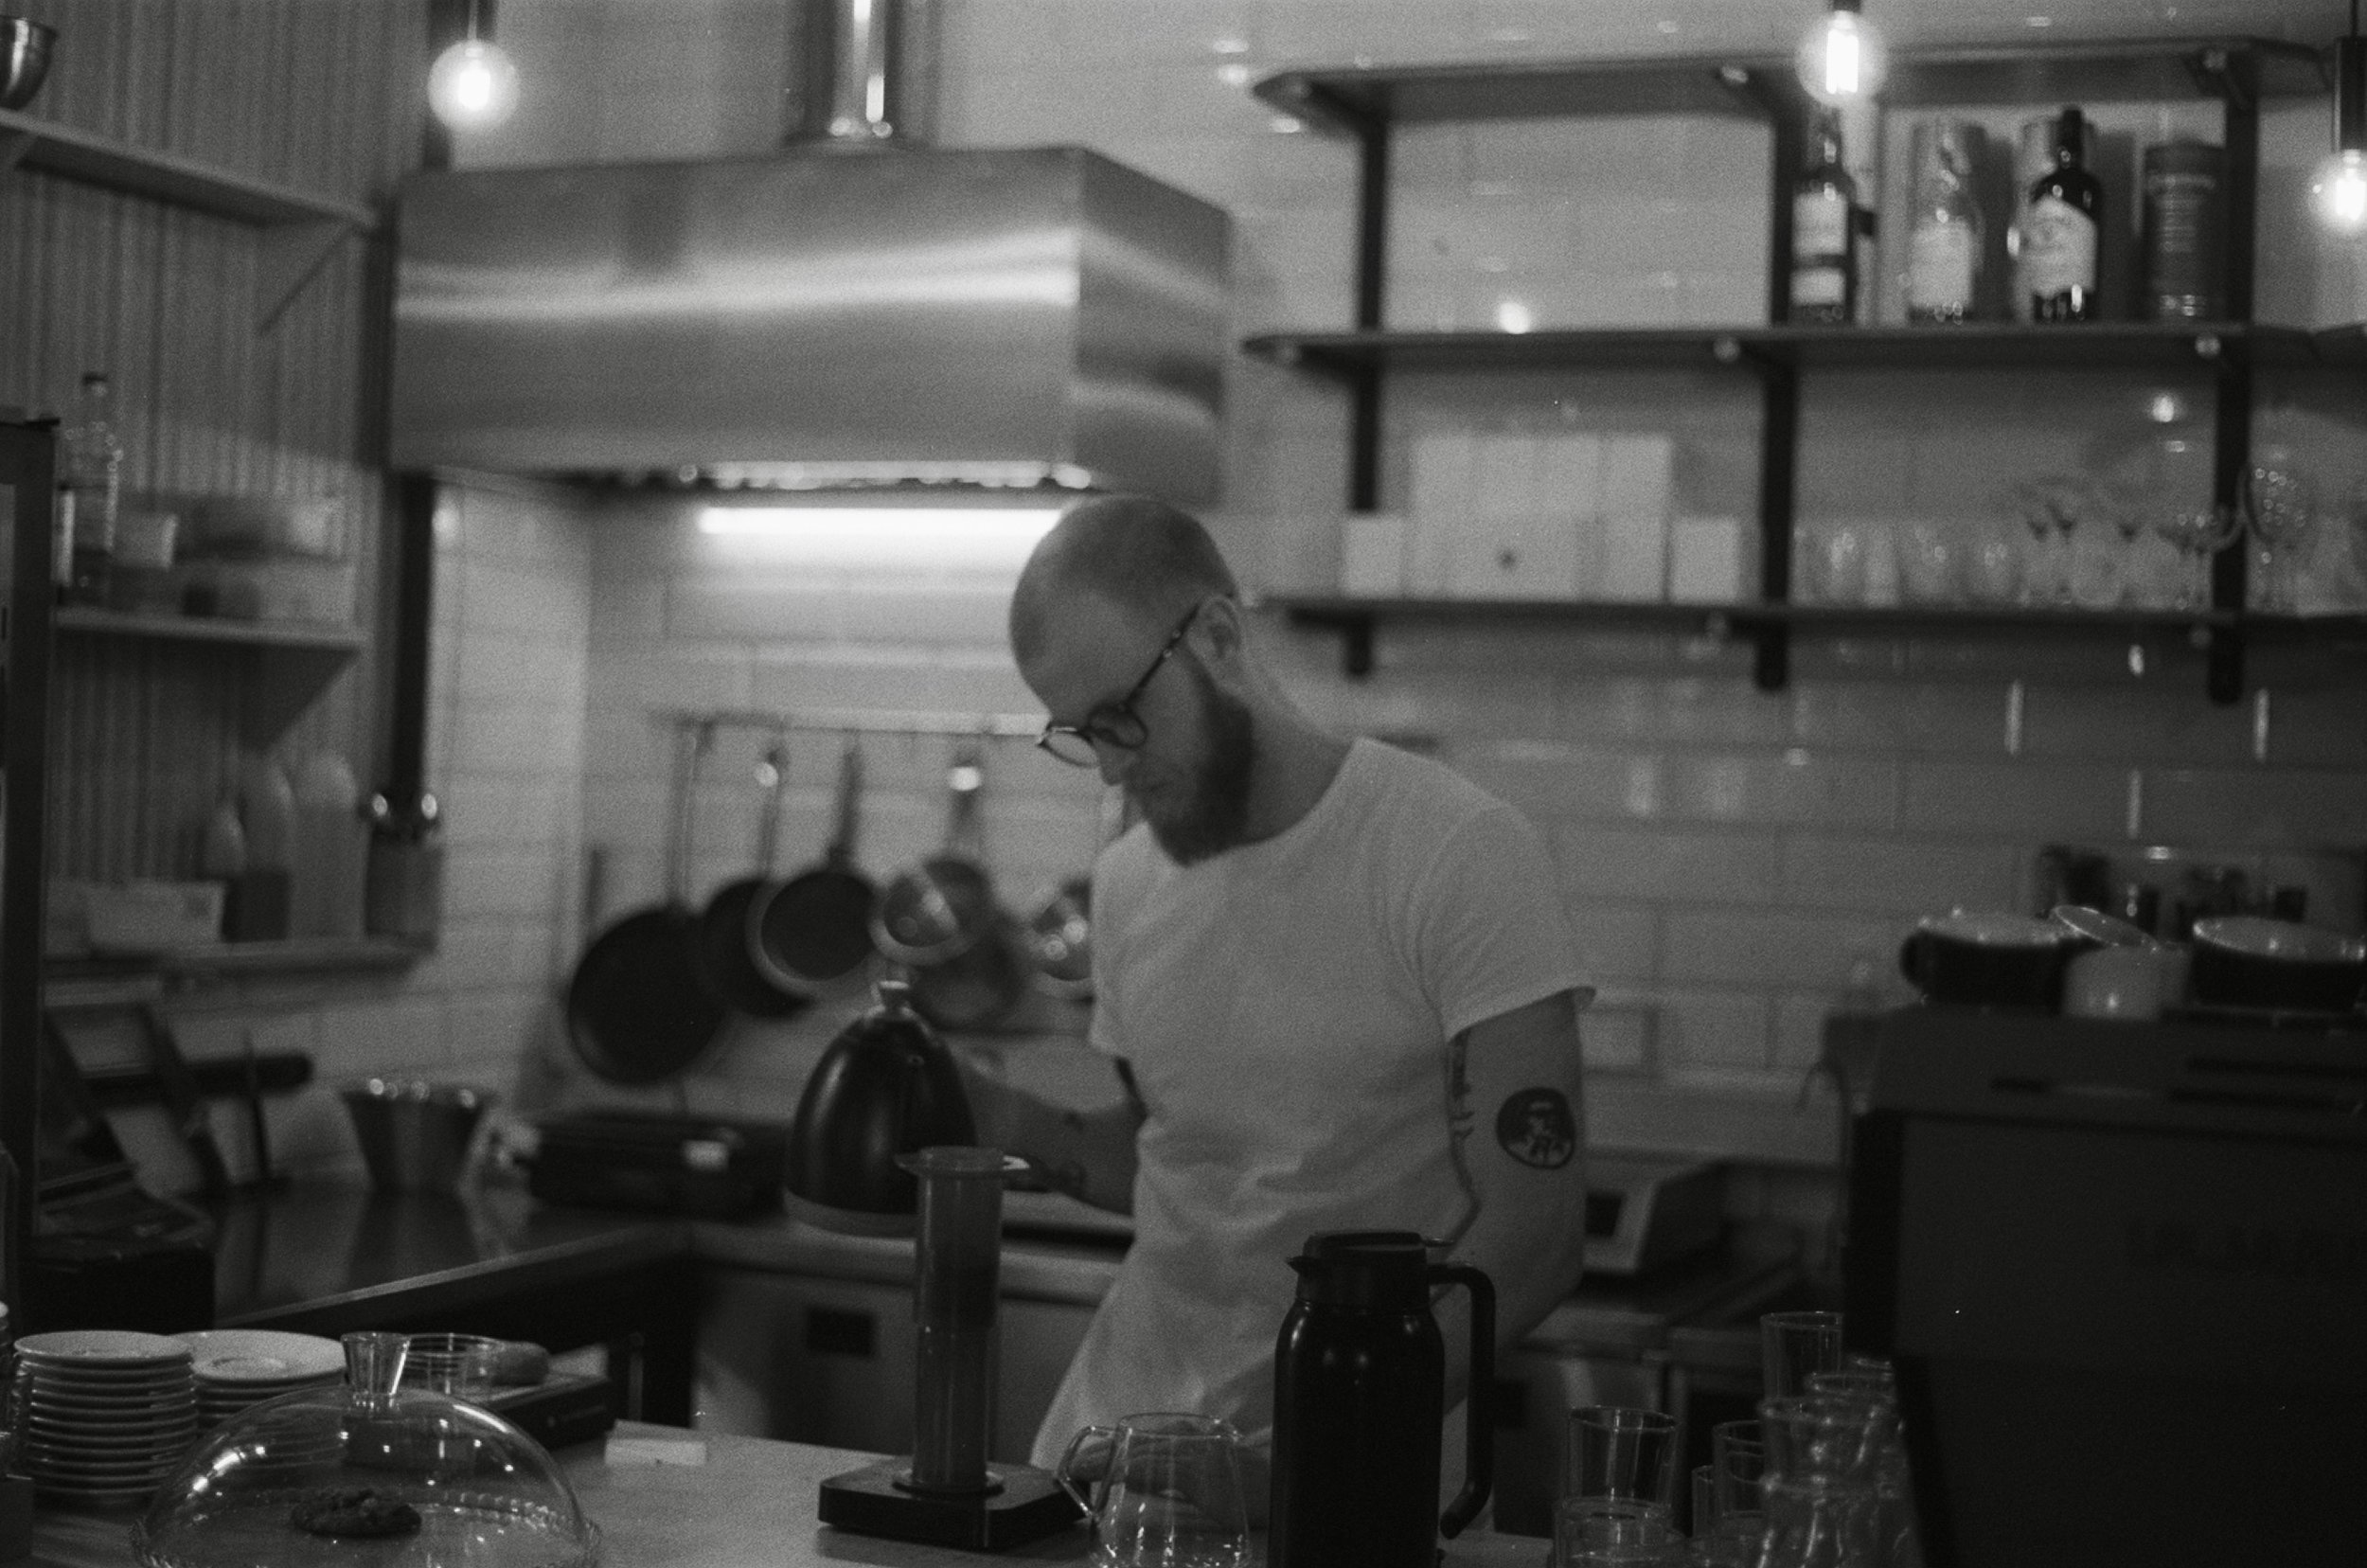
Honestly, to this day, I don’t understand what held me back from buying Aeropress earlier. My close friend, Mark, a killer Barista, used to brew coffee using the Aeropress for me all the time when I lived in Ukraine. And even now, every time I visit, I beg for his infamous Aeropress concentrate that, despite over 7 min brewing time, is never over-extracted or overly bitter. The man knows his stuff, that’s for sure.
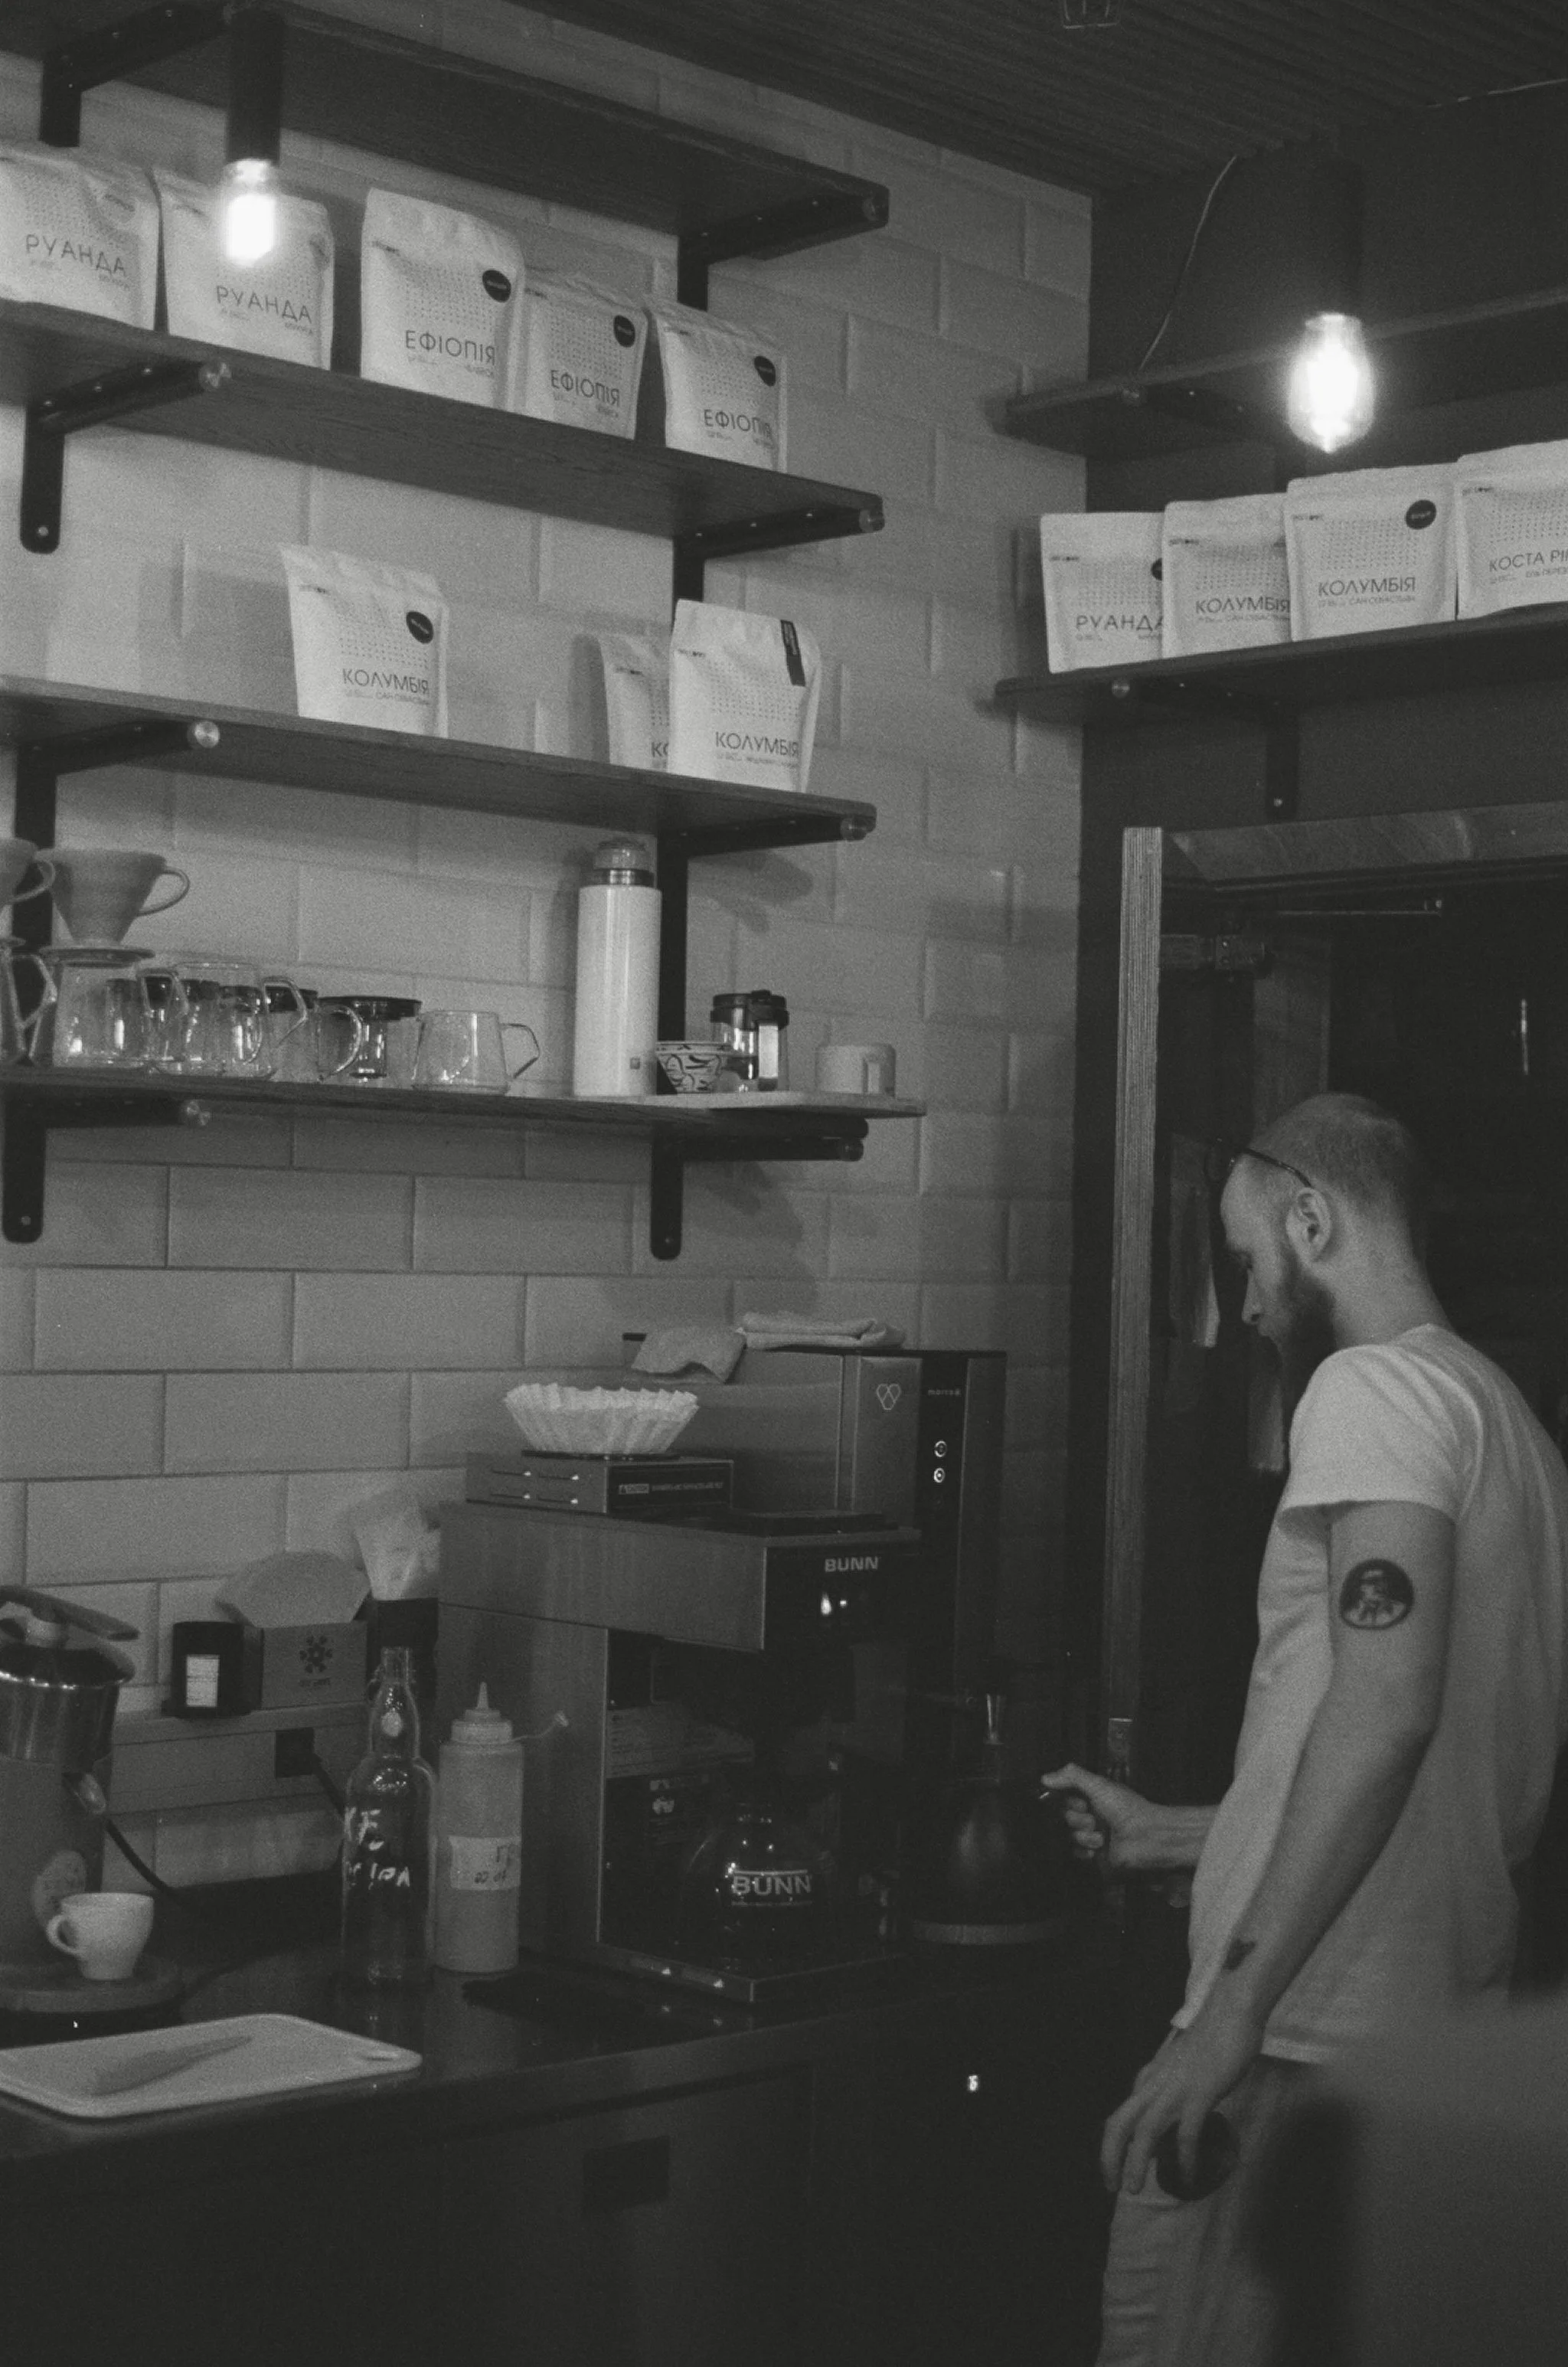
At a certain point, I felt ashamed for not owning an Aeropress. Here I am, trying to teach people how to brew coffee at home and convert them into a specialty coffee culture while never having tried to brew coffee using an Aeropress. It just felt wrong. So, this is the beginning of a journey. A new slope. And as my friend Paul says: “All slopes are slippery.” Especially when it comes to a coffee geek like me.

HOW DOES IT WORK?
I would say there are 3 essential parts of the Aeropress:
The filter cap, the chamber, and the plunger.
(See picture below)
A filter cap is a plastic vessel with holes designed to hold a paper filter and attach to the bottom of the chamber. The chamber is where most of the brewing is happening. It’s a plastic tube, like a bridge between the two parts, where the ground coffee and water go together. The plunger looks very similar to the chamber but with a silicone seal on one of the ends. Due to that, the plunger acts as a seal for the brewing to happen in a closed environment, as well as a plunger for pushing the liquid out of the chamber smoothly.


Under which category does the Aeropress fall?

From what many might believe at first glance, Aeropress is actually a filter brewer…. Filter brewer, but a strange one because it may confuse you with all the different types of steps habitual to other brewing methods.
Due to the coffee and water steeping together for most of the brewing time, it is very reminiscent of the French Press method. The added pressure, however, that pushes the liquid out of its initial brewing vessel can mimic the espresso principle (even though the amount of pressure is drastically different). For further confusion, adding a paper filter, very close in thickness to a V60 filter, makes it similar to various pour-over methods.
Pushing all that aside, judging by the end results: the thickness and clarity of the liquid, the flavor intensity, and the absence of any crema or oil formation at the top, I’d only call it a filter brewer.

The Grind size:
Espresso or Filter?
This is where I will definitely have to get back to you with another blog post because this topic has too many variables. For now, I can say that I’ve been experimenting with courser and finer grind sizes and found both of them excellent in their own ways. Because Aeropress fuses many different brewing styles, it’s hard to miss the mark and make the grind size unsuitable completely.
• For reference:
With a Comandante Nitro Blade C40 grinder, I have tried everything from 8 clicks up to 30.
(COMANDANTE review coming…)
Pre-Infusion / Blooming:
Quick Vocab:
*The Bloom: the part of the coffee brewing process in which the gasses from the coffee are released as the water hits the grinds.
*Pre-infusion: using around 10-30% of the total brewing liquid to saturate the coffee grounds before the start of the extraction to release the CO2 trapped inside the beans (or for the Bloom to happen)
should you be doing it with Aeropress?
Yes! I believe that, yes! Like in every other brewing method, varying from espresso to V60, pre-infusion helps bring out the best flavor from your coffee beans. The question of whether it is worth the risks to try and keep the pre-infusion liquid inside while continuing the brewing is a question I don’t have an answer for yet…

The Inverted Method,
is it worth the risks?
The Inverted method is just how it sounds. You invert the whole structure upside down.
You take the plunger and put it seal side up onto your counter. The chamber goes on top of the plunger, but not all the way, as you still need space for the water. Make your brew inside the chamber with the seam as a base (hopefully without leaks) and the cap with a paper filter inside on top.
Note: wet the paper beforehand, as we are brewing upside down.
After waiting for the desirable amount of brewing time to complete, the whole structure must be flipped onto a mug carefully. From here, it’s a normal process of pushing the liquid out.
If you have heard of the Aeropress, you have probably heard about the inverted method. It was created to keep the pre-infusion liquid inside the chamber for further steeping with the rest of the liquid. In theory, I understand why people think it would help to make a more flavorful brew, but I haven’t done enough testing to confirm. Based on my observations so far, it doesn’t make much of a difference, but I’ll experiment with every variable being identical to ensure.

Can’t leave without summing up my feelings on this new Aeropress life I am leading. I notice reaching for this brewer not only for the coffee it produces but also for its convenience. Even a coffee lover like me has mornings where I just want coffee - fast and easy. If that sounds familiar, Aeropress might be for you. I wouldn’t say that a pour-over is inherently harder to brew, but it requires active interaction all the way through,

Take Away
while Aeropress should be left alone for some time. In addition to being an excellent overall brewer, the Aeropress is also very straightforward to clean, unlike the Moka Pot, which irritates me from time to time. It feels like I can never fully clean it. Anyway, I am excited to have Aeropress as a part of my morning rotation, and all I can add is there’s a lot of brewing to be done and a lot of coffee to be drunk.